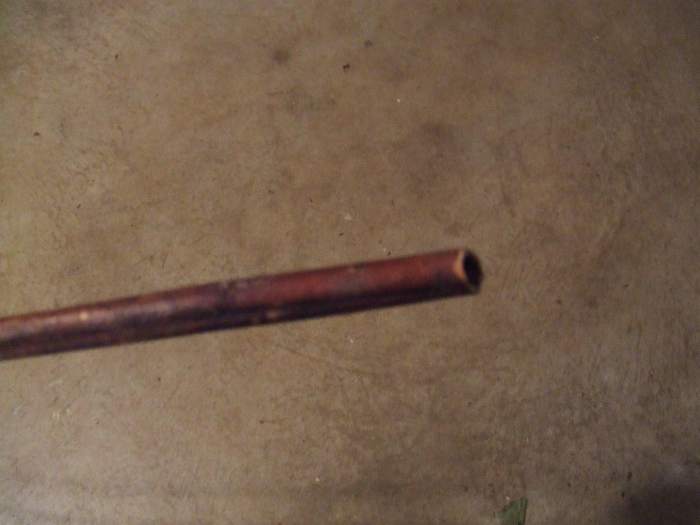
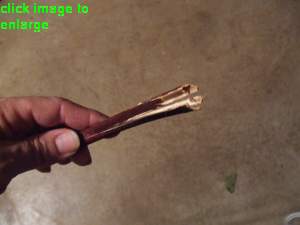
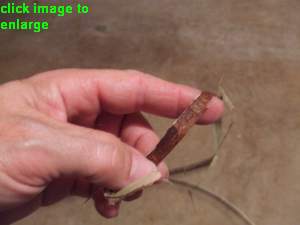
 Dogbane
stalk: Dogbane
stalk:
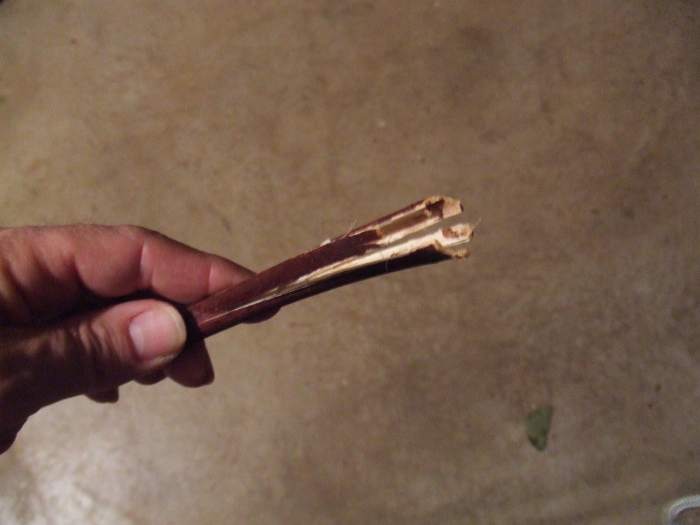
Break stalk into 3-4 pieces lengthwise
using soft percussor, or by stepping on it.
You may use a blade to
cut it half then quarters.
|
  |
  |
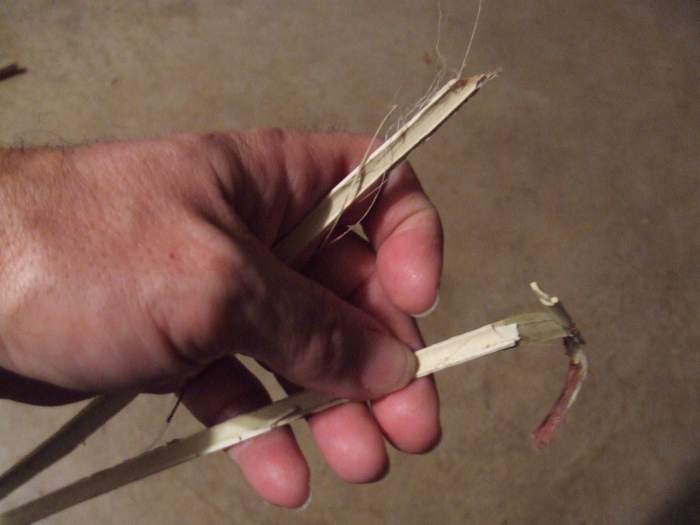
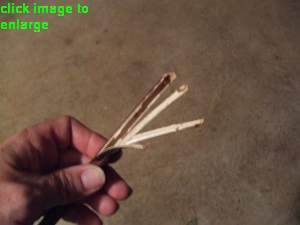
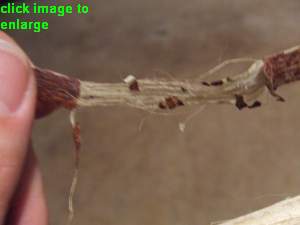
 Break
woody insides away from outer Bark. Break
woody insides away from outer Bark.
Carefully bend and
break the "splints" into 1" pieces, sometimes
larger pieces can be taken off without damaging outer
bark and fibers, but care must be taken when doing so. |
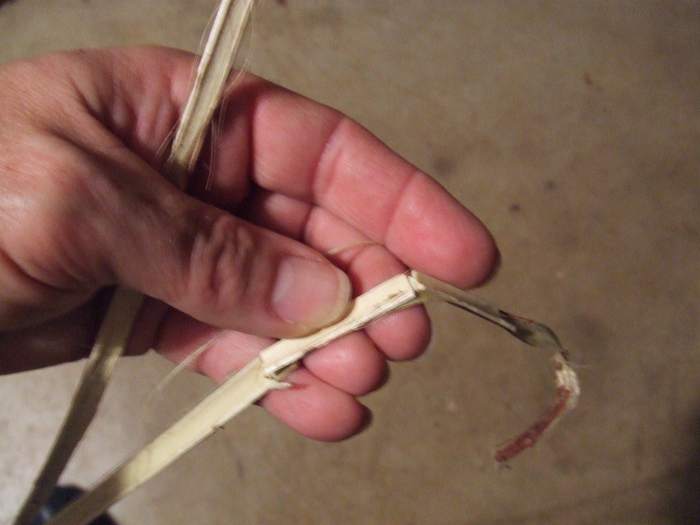
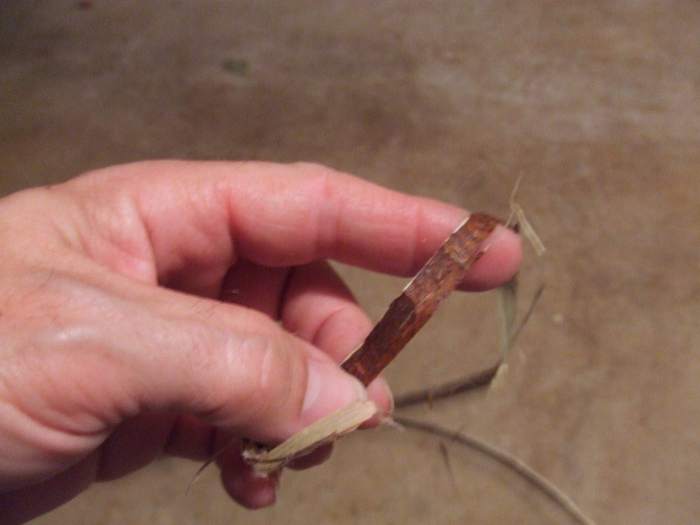
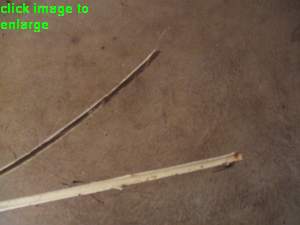
 Remove
as much reddish bark from outside of fibers as you can. Remove
as much reddish bark from outside of fibers as you can.
In your left hand holding
between fingers and thumb, work back and forth, space
should be between .25" and .5". |
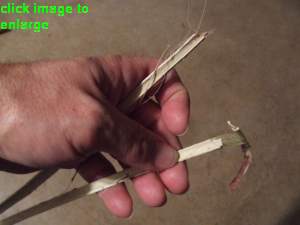
 Remove
as much as you like, depending how clean you want you
cordage to look. Remove
as much as you like, depending how clean you want you
cordage to look.
|
  |
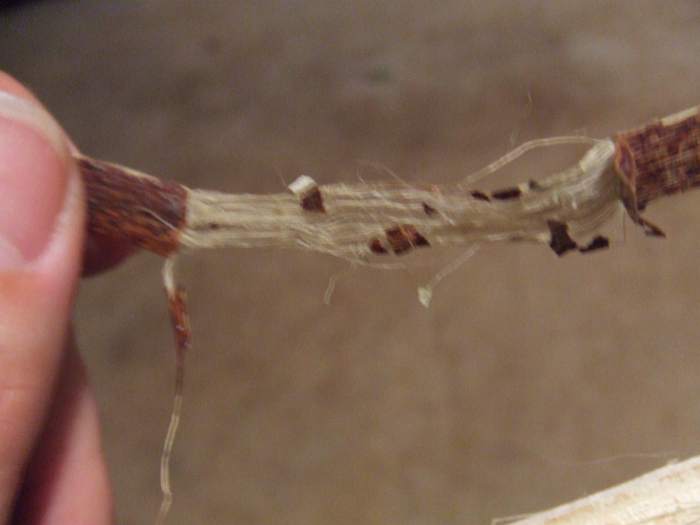
 Note:
sometimes all the red bark can't be totally removed, this
should not affect strength of cordage. This can give it
a more primitive look. Note:
sometimes all the red bark can't be totally removed, this
should not affect strength of cordage. This can give it
a more primitive look. |
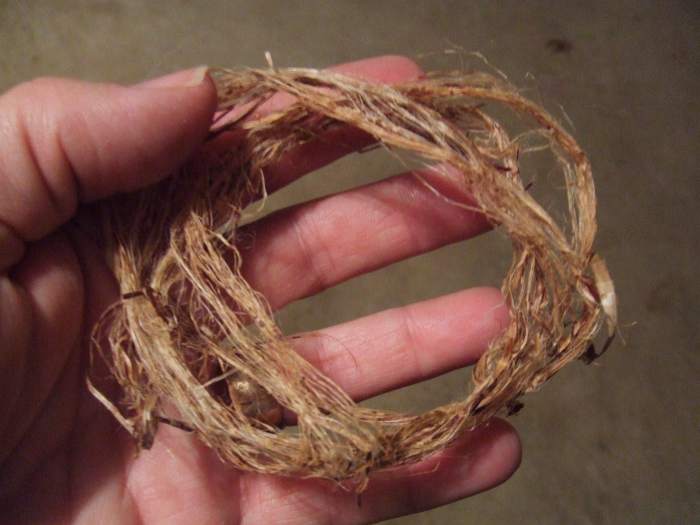
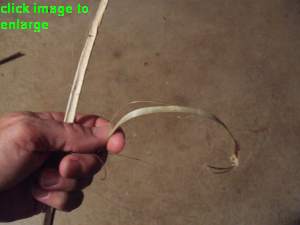
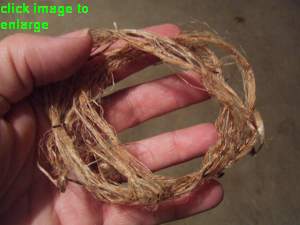 Your
cleaned fibers should look like this. Your
cleaned fibers should look like this. |
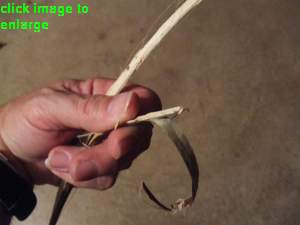
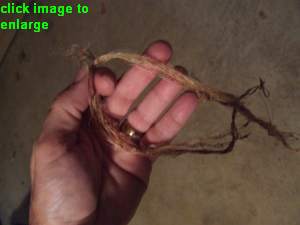 Fold
the strands evenly and hold like this... Fold
the strands evenly and hold like this... |
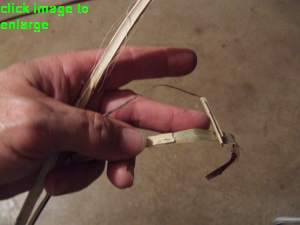
 The
loop created from folding is hidden behind the thumb in
the left hand in this photo. The
loop created from folding is hidden behind the thumb in
the left hand in this photo. |
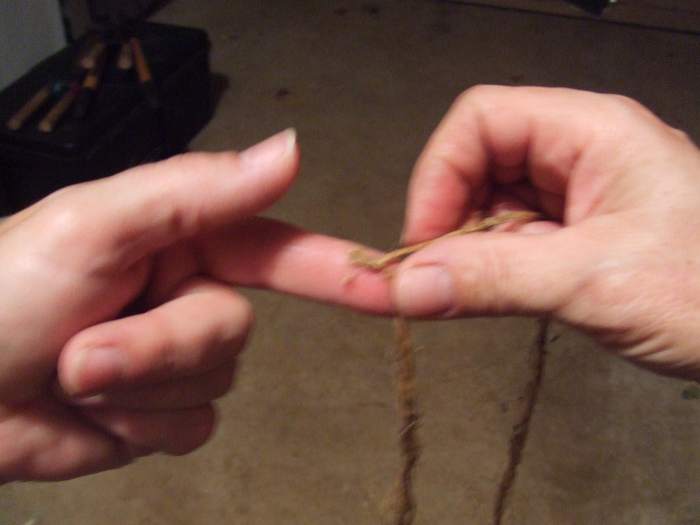
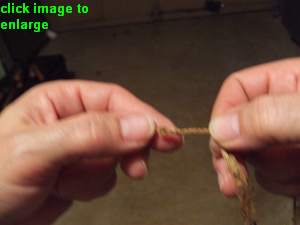
 Take
cleaned piece of fibers and twisting between thumb and
index fingers, Take
cleaned piece of fibers and twisting between thumb and
index fingers,
right hand away from
you...
left hand towards
you...
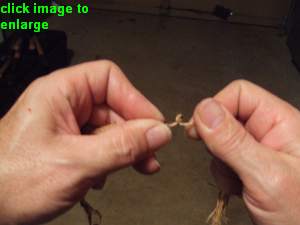
until
a small kink or loop is formed.
|
|
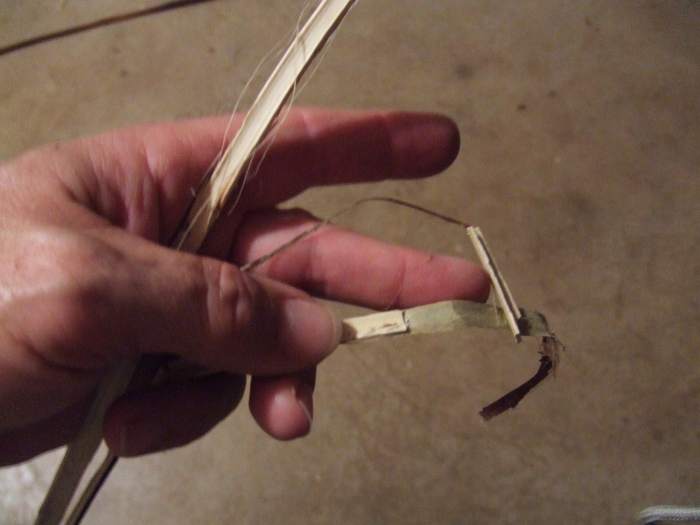
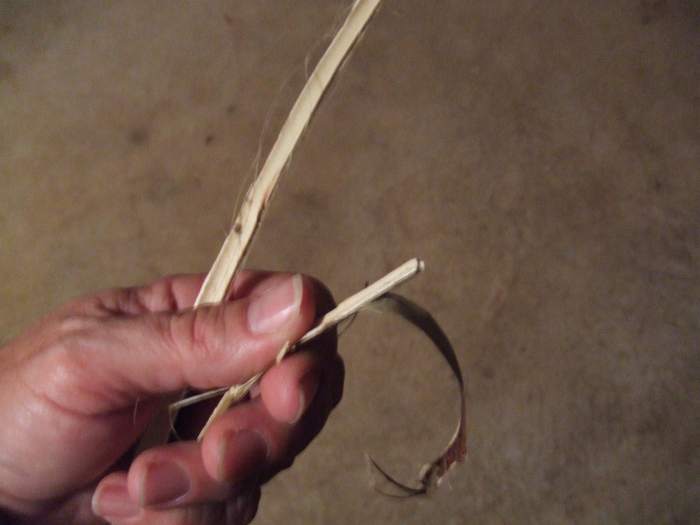
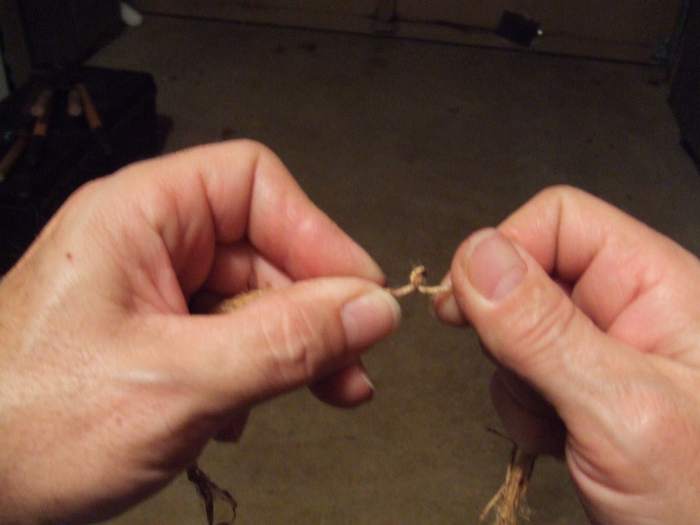
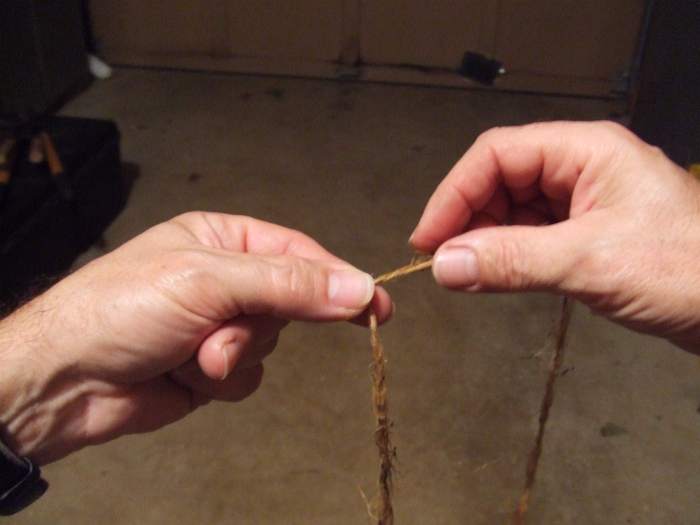
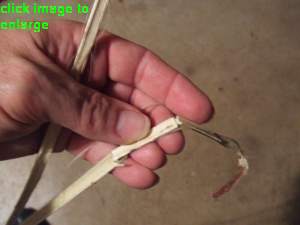
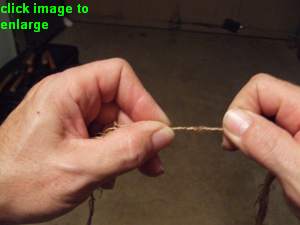
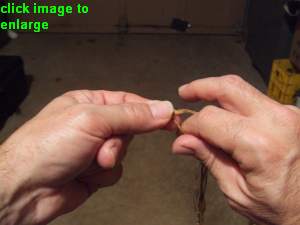
  Take
this loop and place it between thumb and index finger
of your left hand. Take note how it lays... picture
a top piece and a bottom piece. Take
this loop and place it between thumb and index finger
of your left hand. Take note how it lays... picture
a top piece and a bottom piece.
|
| |
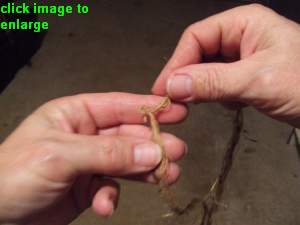
 Holding
the loop between thumb and finger in the left hand and
rolling (Twisting) the top piece AWAY from you
a few turns, you'll feel it tighten up under left thumb. Holding
the loop between thumb and finger in the left hand and
rolling (Twisting) the top piece AWAY from you
a few turns, you'll feel it tighten up under left thumb.
Bring top piece over bottom
piece TOWARDS you, by putting your finger between
the two pieces
Now take top piece and
roll it AWAY from you till you feel it tighten
up bring it TOWARDS you over bottom piece just
like before. |
  |
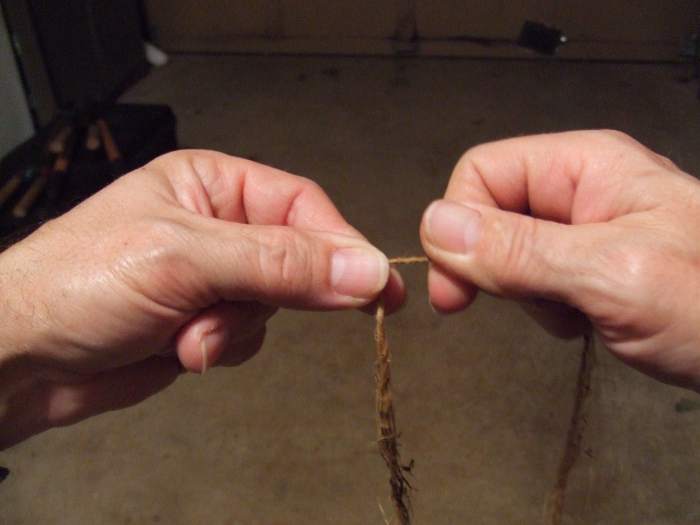
 You'll
get use to the feel of the cordage under your thumb and
exactly how many turns it may take to arrive at correct
thickness of cordage, this may vary from top to bottom,
because fibers will change thickness as you progress. You'll
get use to the feel of the cordage under your thumb and
exactly how many turns it may take to arrive at correct
thickness of cordage, this may vary from top to bottom,
because fibers will change thickness as you progress.
By now original kink, loop, has
fed out beyond thumb and left finger and you should be
holding cordage. |
|
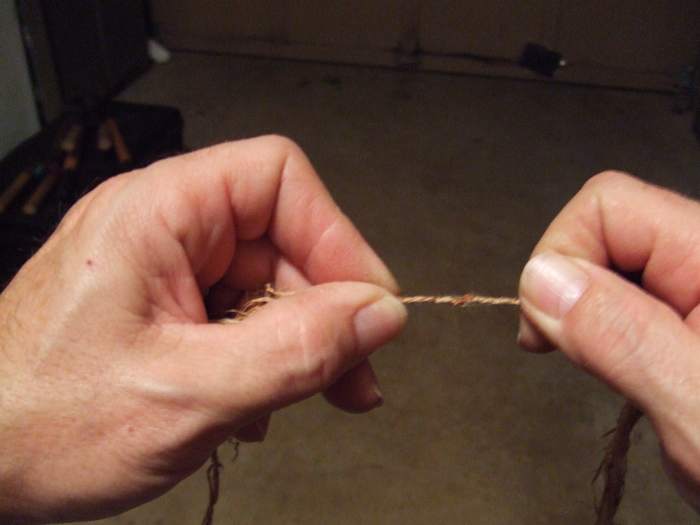
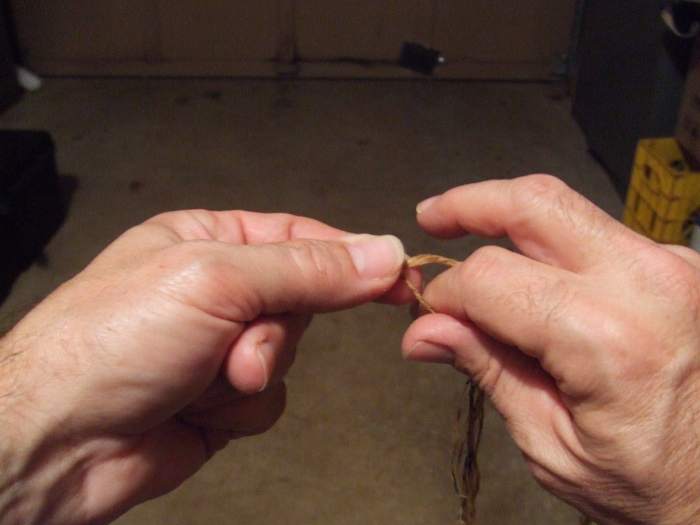
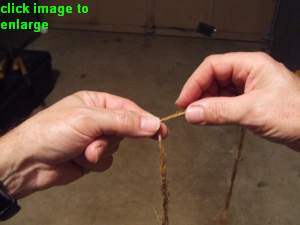
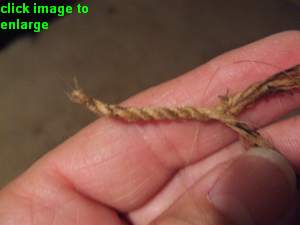 The
initial process should look like this. The idea is that
the twisting action works against itself. The
initial process should look like this. The idea is that
the twisting action works against itself.
Keep working feeding
in more fibers when getting near the end inserting (just
lay new next to old overlapping them) same size fiber
bundle you had been using.
To keep cordage size uniform, trim
extra off when finished (don't worry about how this
looks.)
Try to keep fiber bundles (new fibers)
about the same size (as you had been using)
This will keep entire
cordage same diameter.
Just tie
a knot on end. Sometimes, if knot is large it can be
inserted into original loop.
Kink to
serve as latch, for necklace or bracelet.
Have
fun!
|
| |